In Between Tenants: A Checklist for Landlords
 Congratulations—you have a new tenant for your just-vacated rental unit. And you have very little time to get it ready before move-in day. Here’s a handy checklist to follow, with every detail covered:
- First, make sure any trash or property left behind by the previous tenant is removed. Whether you hold it for the previous tenant to pick up, trash it, or donate it is up to you.
- Check the plumbing, heating, and A/C systems. Turn on every faucet, let the water run for few minutes, then turn it off. Make sure there are no leaks. Check around toilets, the dishwasher, and the garbage disposal, too. Be sure thermostats, filters and vents are working properly.
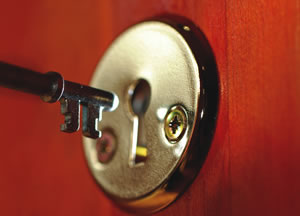
- Change the locks, if necessary. Some landlords never change locks between tenants—others always do. Depending on your situation, either install new locks, have the existing locks re-keyed, or just check the locks to make sure they work properly.
- Turn on appliances. Check the stove—does every burner heat up? Does the oven put out heat? Are the racks still there? How about the broiler pan? Also, run the dishwasher through a complete cycle—make sure it doesn’t get hung up or leak. Check the refrigerator and freezer to make sure they are cold, now warm. If your rental unit has a washer and dryer, turn them on too. Make sure the washer does not leak, and the dryer is properly vented.
- Check cabinet and drawer pulls in the kitchen and bathroom. Are any missing or loose?
- Look for torn or missing window screens. Check the windows, too. They should open and close easily. Locks must operate easily. Think of your tenants’ ability to open sticky windows or unclasp a stiff lock. In an emergency, windows and locks must operate smoothly and easily.
- Clean, clean, clean. Whether you do it yourself or hire an outside firm, clean the rental unit thoroughly. Give the toilets and tubs, showers, sinks, mirrors, and floors in the bathrooms a good scrubbing; same for the stove and sink, countertops and refrigerator, tile and flooring in the kitchen; then, clean windows and sills, baseboards and carpeting throughout the rest of the house or apartment.
- Check the storage area, shed, or garage—make sure there is no trash, dirt, or spider nests lurking behind. Ditto for outdoor living spaces, like balconies or patios.
- Check smoke and CO2 detectors for proper operation. Make sure fire extinguishers are in place.
- Finally, provide a new roll of toilet paper and paper towels—usually the first things people need in a new place. Your tenant will appreciate the thoughtful touch.
If you’re able, an inexpensive plant is a great welcome gift for your new tenant—and will start your relationship off on the right foot.

